Today, I will show you step by step how to install WordPress to create your website:
Installing WordPress
Today, I’m going to show you the different steps to follow in order to install wordpress correctly:
How to install WordPress ?
In this first part of the article, I will quickly present you the main principles to install wordpress
quickly and easily from the Ground website hosting.
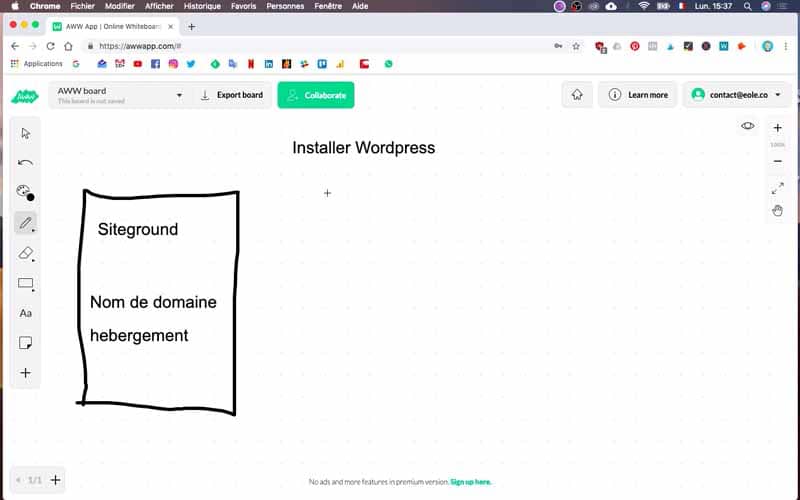
For this, you will see, I will go in a first time, on my host Site Ground. Indeed, I subscribed to their services that will host my website, and also responsible for my domain name
.
Once I go to Site Ground, I will go to a section called the C panel. You’ll see, this C panel section contains several items.
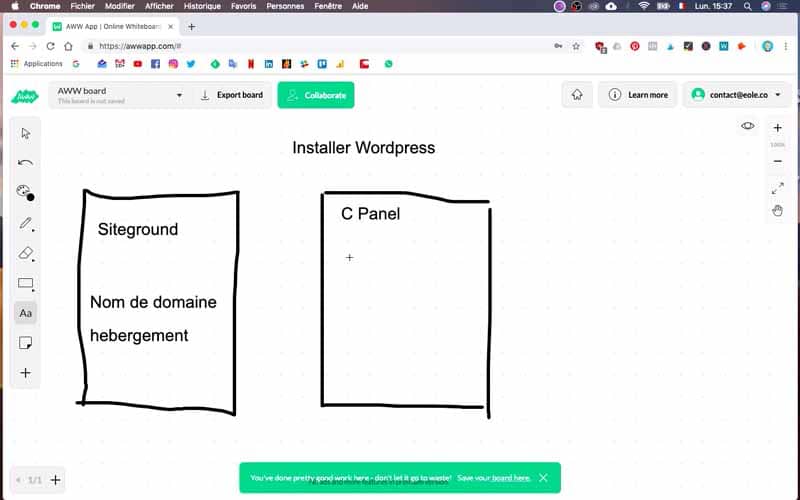
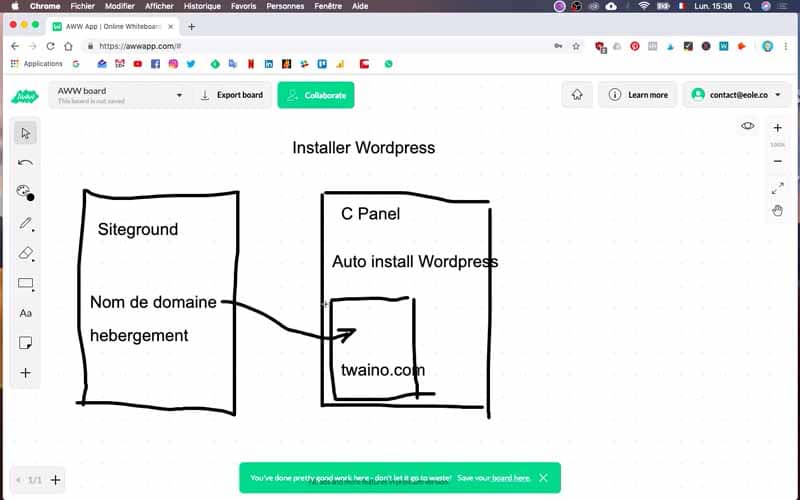
I will look for a service called “Auto install wordpress” which will allow me to launch the automatic installation of wordpress. In this section, you will have to fill several information including the domain name. For example, in my case, I will have to put the domain name Twaino.com, because I remind you my goal is to create a website for my SEO agency
.
Once all the parameters are completed, you can launch the installation. Normally, it is only a matter of minutes before you can consult your website. So, afterwards I will type www.twaino.com to check that my site is available and working properly. Obviously, this site will be a basic “model”, as I will not have made any modifications on it yet. Indeed, that will be the challenge of the next articles, I will have the opportunity to show you how to completely redesign the site so that it looks more like what we hear. This first version that you will see, will be a basic version of wordpress.
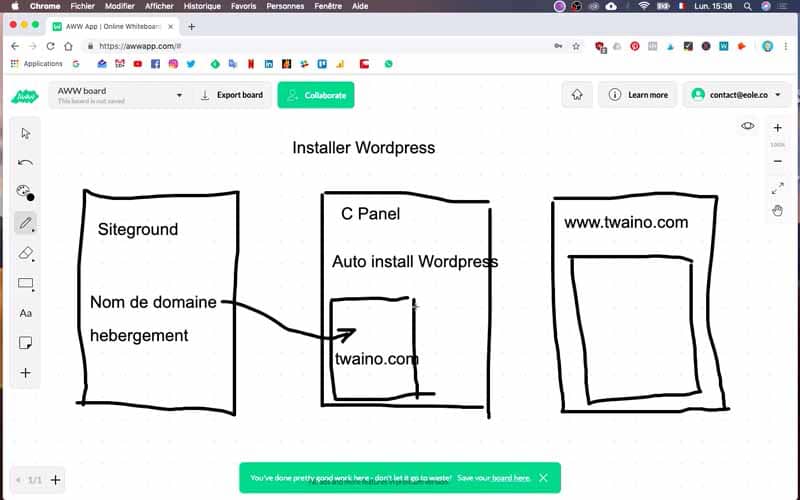
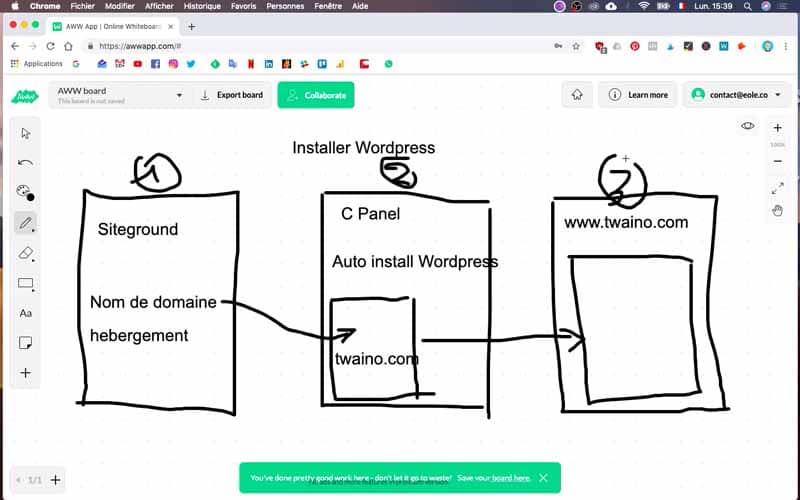
So, the path that I am going to propose to you is going to be the following:
- Connect to SiteGround hosting
- Launching the WordPress auto installation
- Checking the website to ensure that everything is working properly
Install WordPress step by step
1) Connect to SiteGround
First of all, I will connect to my Site Ground host, by indicating my login and my password.

As I had the opportunity to show you in a previous article, I was able to buy directly from Site Ground my domain name, which will allow me to save time in creating my website.
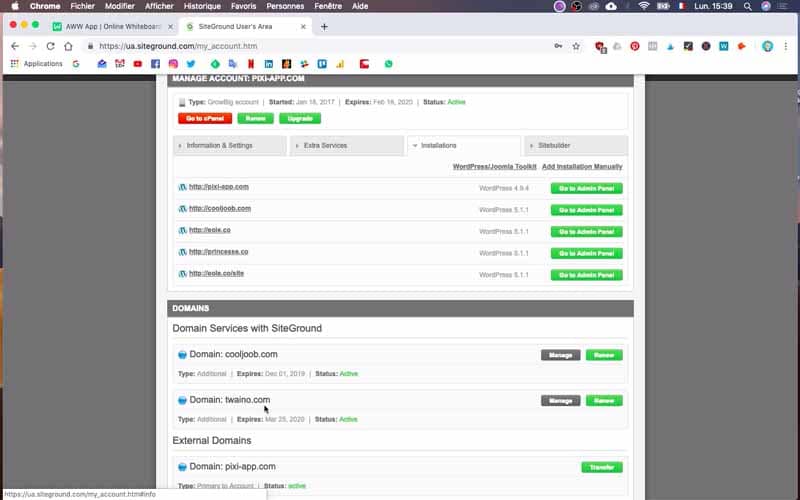
2) Go to the CPanel
Next, I will go to “Go to CPanel”.
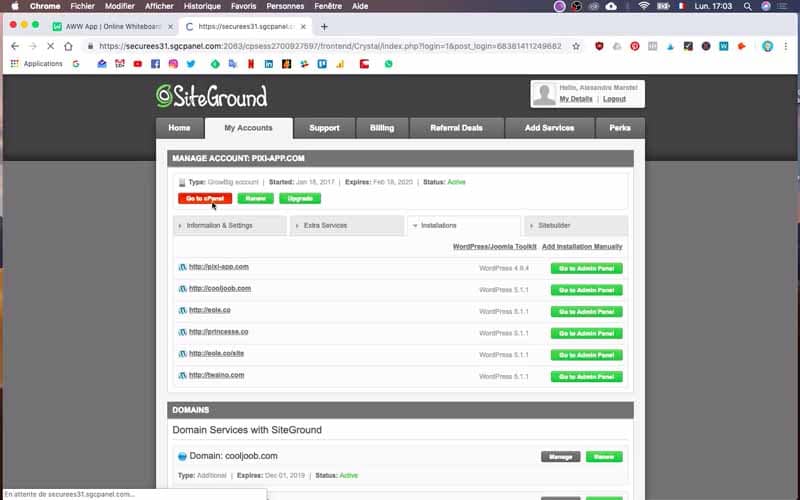
3) Click on Auto install WordPress
Then, I will go to the “auto install
” section and click on “WordPress”.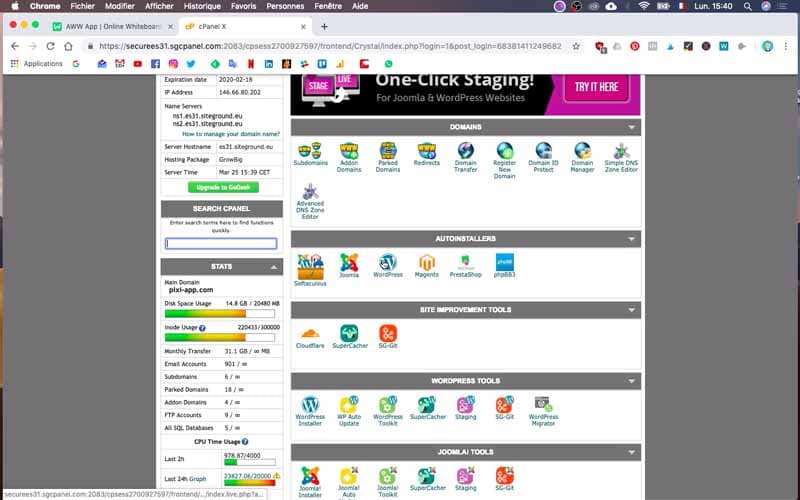
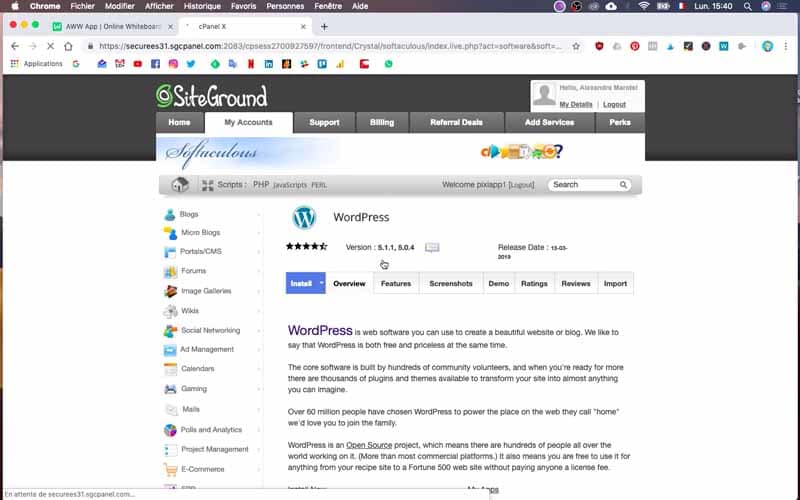
4) Choose the domain name, the WordPress version and the protocol
Then it is necessary to choose :
- The version of WordPress you want to work on. I will choose the most recent one, 5.1.1
- I will take the protocol http://, which I will have the opportunity to change in https:// later
- I choose the domain name on which I want to install wordpress, namely Twaino.com
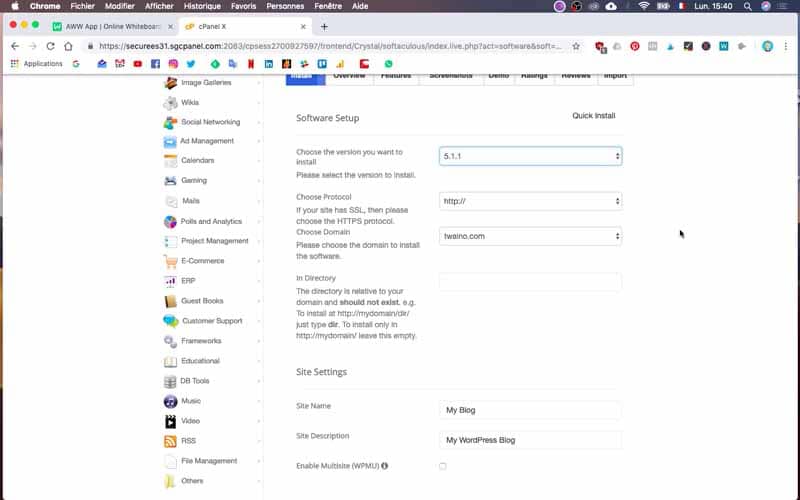
5) Choose the name of the site and the description
I will then complete the following information:
- The name of the website, so “Twaino”
- The description of the website : “SEO Agency
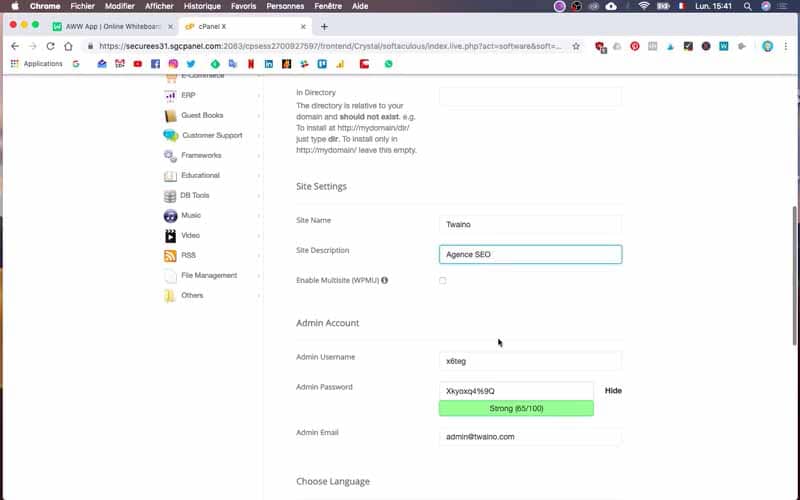
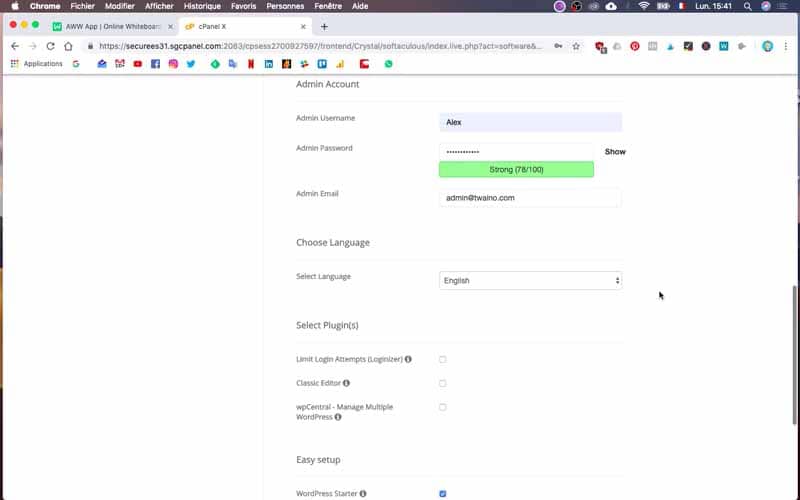
6) Provide a username and password to log in
Next, it is necessary to indicate the following elements:
- The username to be able to connect to the “back office” of the website. In my case, I will put Alex.
- A password that I will remember.
To increase the degree of security and to have a strong password, do not hesitate to add capital letters, lower case letters, numbers and exclamation marks. So many elements that will allow you to avoid having your website easily hacked.
For the admin email, I will put admin@twaino.com.
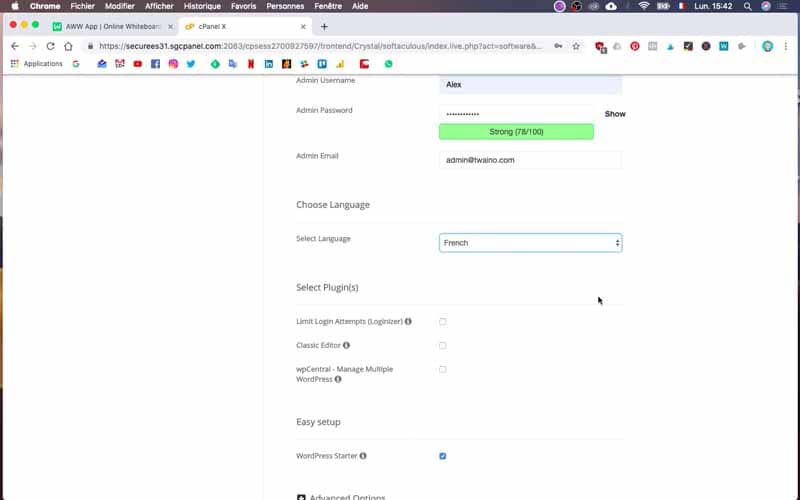
7) Select the language
I want my site to be in French, so I choose this language.
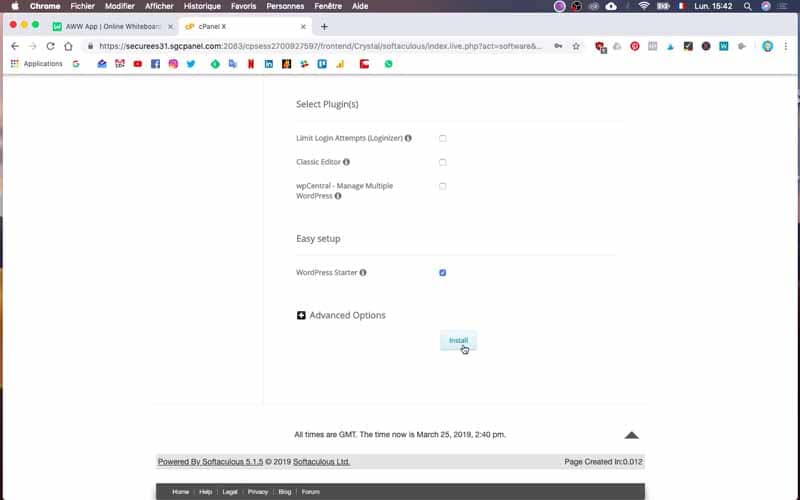
8) Launch the installation
Once finished, I will now click on “install”.
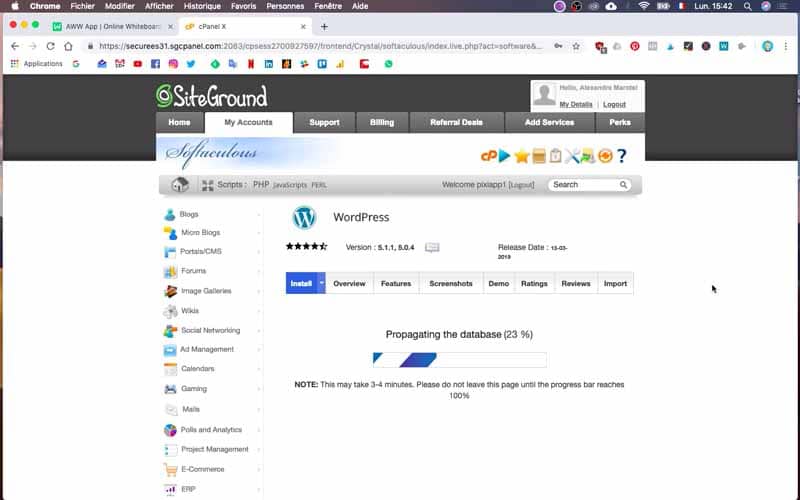
9) The installation will take a few minutes
The installation will be done quite quickly. For my site twaino.com, it took less than two minutes.
10) Check that your website is working properly
Once the installation is complete, you will have two options:
- Access to the website (Public): www.twaino.com
- Access the back office or dashboard of the website (Private): www.twaino.com/wp-admin
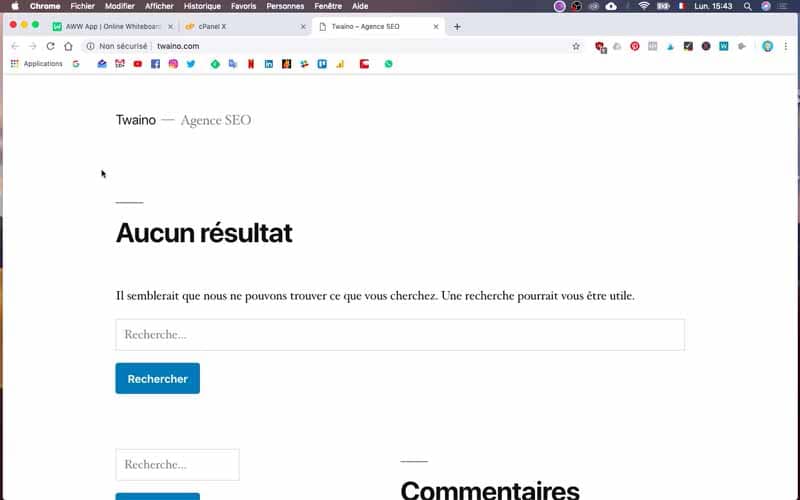
So by clicking on the first link, you will be directly redirected to the site you just installed. As you can see on the screen print below, this first version is not at all worked. It is a website on which there is everything to do, both in terms of content and design.
Once this check is finished, I recommend you to go to the “back office” of your website
11) Verify that you can access the site’s dashboard
By default the dashboard or “back office” of your website is available by typing:
- url of your website + “wp-admin”
- So in my case: www.twaino.com/wp-admin
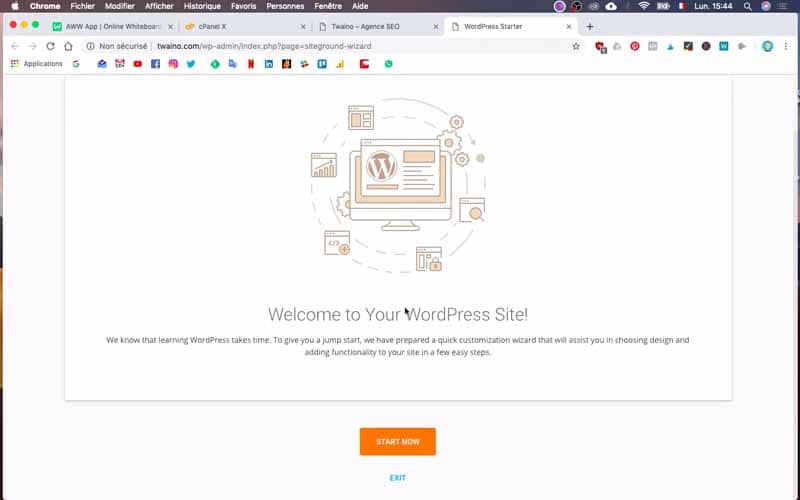
You will be taken to a page where you will have to fill in your login and the password that you registered beforehand during the installation (step 6). WordPress now offers, a navigation help to better understand for novices how the CMS works. In my case, I will simply click on “exit”.
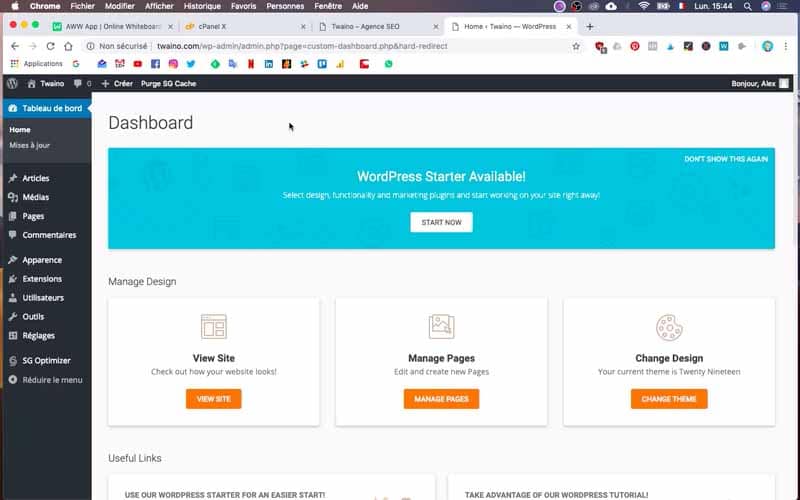
Now, you will arrive on the “hidden side” of the website, the back office. This is the place where you will be able to
- Set up your website
- Create content
- Make changes to pages
- Create users
- etc…
When you are the owner of a website, this is the place where you will spend the most time.
Now my Twaino.com site is up and running. Nevertheless, the biggest work is waiting for me now because I will have to create content and modify pages to make this site attractive. After this installation of wordpress, my website www.twaino.com is available on the internet.
Nb: Do not try to find your website immediately in Google. The crawling and indexing process can take several days
Conclusion:
In this article, I could show you the steps to install WordPress quickly and easily from siteground. The Content Management System – CMS WordPress is particularly powerful, and will allow you to create an effective site, able to give you a lot of visibility. In the next article, I will present you the minimum settings you need to make in order to have a properly configured website. See you soon…


How to install a free SSL Certificate on WordPress
Hello,
I write another article about SSL.
https://www.twaino.com/en/blog/website-creation/http-https/
Thanks for your comment.
See you,
Alex