Do you want to have more visibility for your business? If so, you have certainly already created a website, but unfortunately it is far from being enough. For that, you need a way and one of the best is to appear among the 3 brands presented on the precious map displayed by Google directly on the first page of search results. And yes! You’ve probably already noticed it during your searches and there’s no doubt that you’ll get a considerable amount of traffic if you appear there. But to get to this position, you must first create and set up your Google My Business
page. To do that, let me walk you through this article and the accompanying video. You will have a new key to significantly improve the visibility of your business. So follow along!Complete Google My Business Guide
Today, I present you in this video how to create and set up Google My Business. For this, I do it in front of you for my own website Twaino:
Google My Business: what is it?
Google My Business is a free and powerful tool that was launched by the American giant since the year 2014. Its role is to help organizations and local businesses manage their presence on Google to attract more traffic.
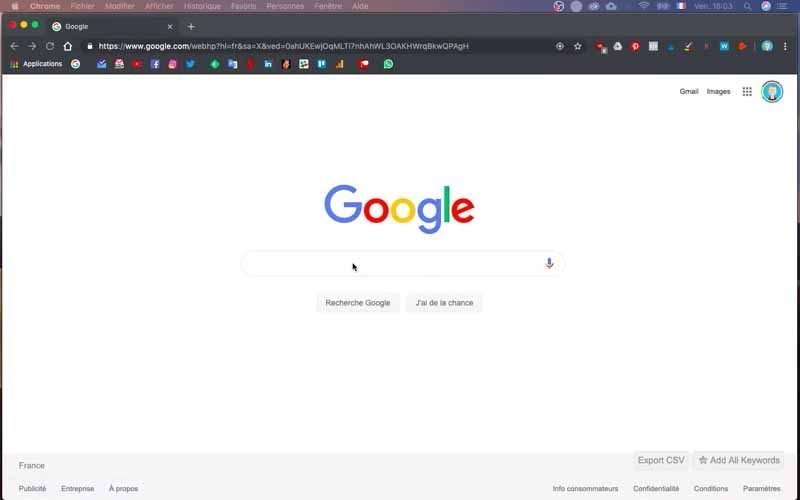
This presence, which I mention, includes both the way your business presents itself on the search results page and in Google Maps. Indeed, the idea is to make it easier for people nearby to find your services because of the geographical proximity of the area served.
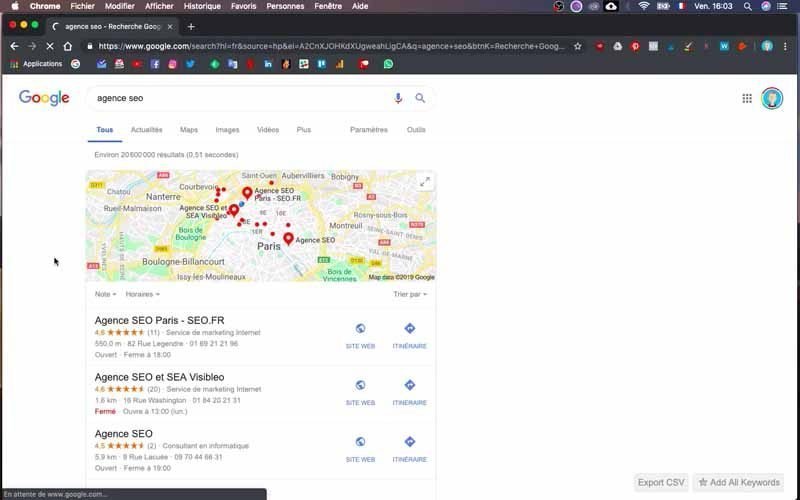
If I take the example of a potential customer who is only a few kilometers away from your business or your store, he has a good chance to find you in the first results if he makes a search on the type of service you offer. Similarly, if this potential customer has already heard of you and wants to contact you, he can search for your brand and find your phone number and address. In this case, they are free to call you or to visit your premises.
In reality, it is the logic of local referencing that makes search engines take into account the geolocation. And this, in order to offer users the best services or businesses that are close to them.
And then complete your Google My Business account will allow visitors and the search engine to better understand your business, and therefore increase your visibility on the Internet.
Who is Google My Business for?
You can create a Google My Business page, only if you have a postal address for your business or agency.
Indeed, Google will try to verify the existence of your business by sending you a code through your P.O. Box. This code will be used to validate your account so that you can use it fully afterwards.
On the other hand, it is important to note that these codes will allow Google to secure the creation of your information, and thus protect both owners and customers from possible fraud.
What benefits can you get from Google My Business?
The first reason to use Google My Business is nothing else than the fact that it is free. Therefore, you don’t have to spend any budget on it and yet you have access to many privileges.
Manage the information you communicate to Google
With Google My Business you can develop your presence on :
- Google search engine: with local results related to your search
- Google Maps: To be able to find on the Google map, the services you need.
Indeed, when Google users perform a search on the products and services you offer or simply on your business, Google My Business will allow you to highlight your information by displaying them.
At this level, I suggest you provide the tool with the right information about your business. It is among others :
- Your website ;
- Your address;
- Your services;
- Your opening hours, etc.
These different data are important not only for Internet users, but also for the Google algorithm. Indeed, both appreciate the brands that provide the most qualitative and regularly updated information.
Interact with your customers
Read and respond directly to customer reviews are privileges that Google My Business offers. The most interesting thing is that you can even share with them photos of your new products and achievements.
I would like to draw your attention to the fact that Google has revealed that businesses that add photos to their Google My Business page have 35% more clicks to their site and more than 42% more requests for directions on Google Maps, than those who do not.
It is therefore wise to regularly feed your page with images about your identity, your products, your services … to improve your SEO and get more traffic.
Understand and develop your presence in Google
With this tool, you also have the opportunity to know where your customers come from and how they search for your business. One of the most interesting things about this is knowing exactly how many users called directly from the phone number displayed in Google Maps or in Google search results.
Therefore, you have the opportunity to track the performance of your Google My Business and try to optimize it to improve your scores.
Google My Business on Mobile
And yes! You read it right, the Google My Business application already exists and remains completely free.
So you can access your account from anywhere and update your business information. Whether you have App Store or Google Play, you can download the application for free.
Google My Business: the steps you need to follow to create and set it up yourself
Having a Google My Business page is not a complex task. But to make it easy for you to assimilate it, I will create it for my SEO Agency Twaino in front of you, step by step. In addition to reading this article, I invite you to follow the full video I made on the subject. So let’s get started!
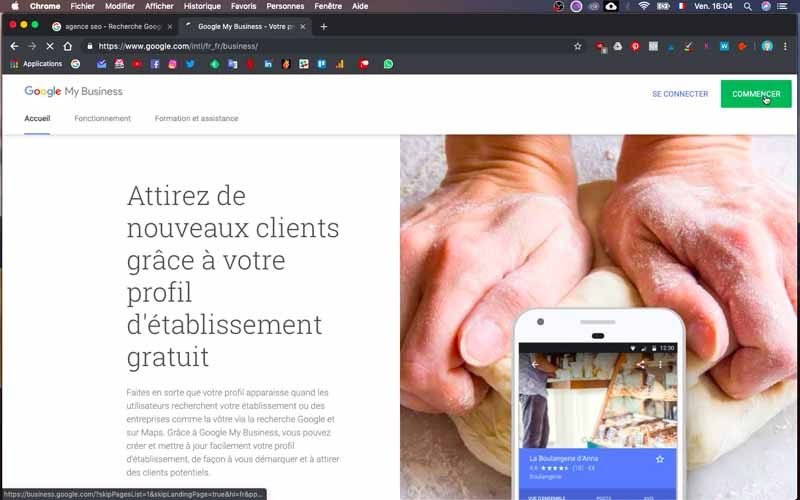
1) Go to Google My Business
First, go to the website of Google My Business to create an account. On the homepage, click on “get started” in blue in the upper right corner. Note that you only need to have a Gmail account to use Google My Business for free.
2) Add a business
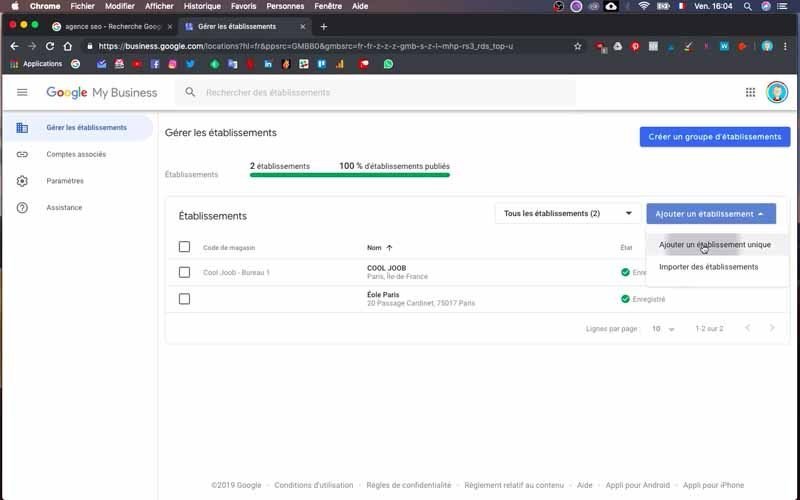
Just click on the blue button “Add a business” located on the right and below the blue button “Create a business group”.
At your level, you will be directly directed to the process of adding your business
3) Provide the name of your establishment
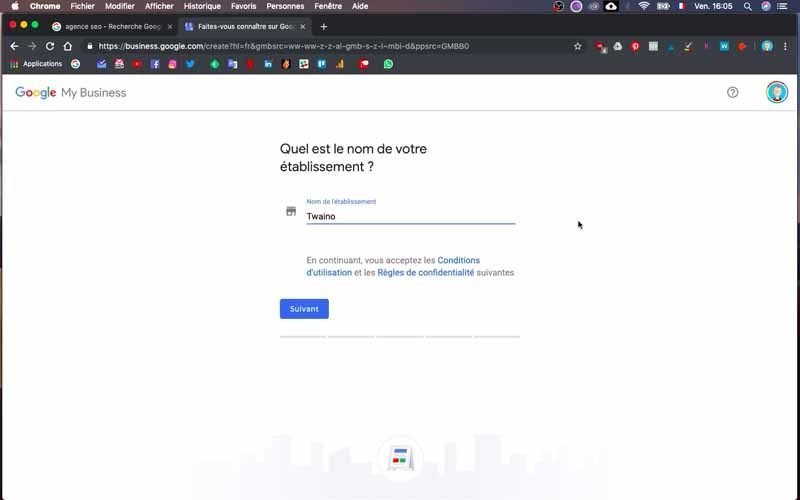
You are at the beginning of the creation of your Google My Business page and the first information you need to provide is nothing other than the name of your company or business.
For my SEO Agency, I enter “Twaino” in the box reserved for this purpose. Then click on the “Next” button.
4) Add or not a location
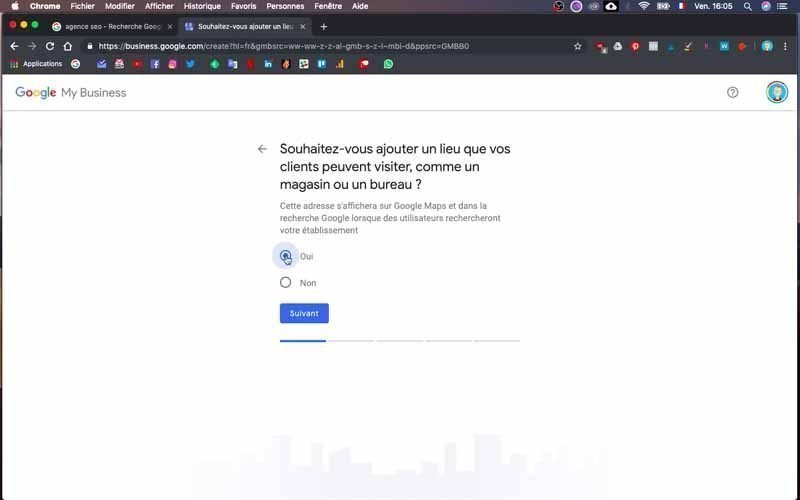
On the next page, you have the question, “Do you want to add a location that your customers can visit like a store or an office?”. To this question, you have the choice to answer yes or to check no.
I check “Yes” and click on the “Next” button.
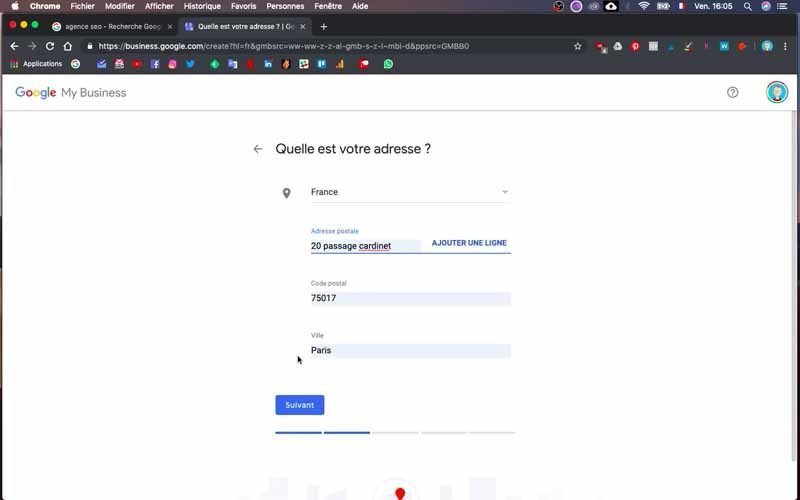
5) enter your address
At this level, you must provide information about your business. This is the country, postal address, postal code and city.
In the case of my SEO Agency, I check :
- “France” for the country,
- “20 passage cardinet” for the postal address,
- 75017 for the postal code
- Paris for the city.
I then click on the “Next” button to continue.
6) Answer the question concerning the proposal of services
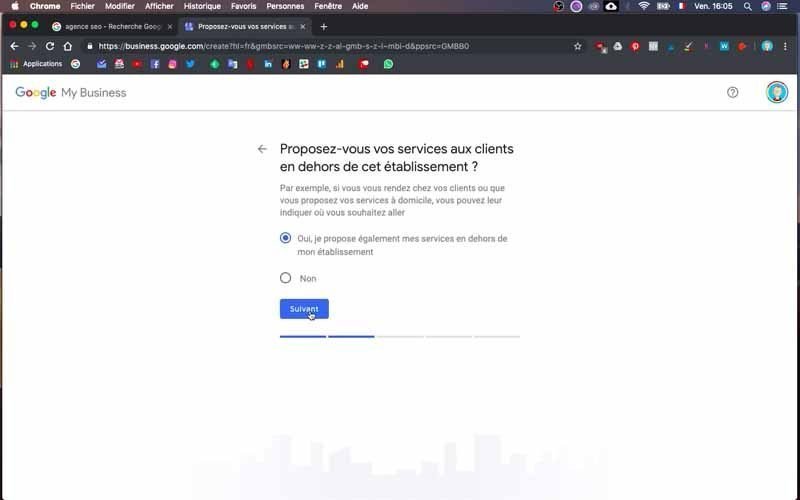
On this interface, you check an answer to the following question “Do you offer your services outside this establishment?
I check “Yes” at my level since I can go to the clients’ homes if they wish. Then I click on the blue “next” button.
7) Add your service areas
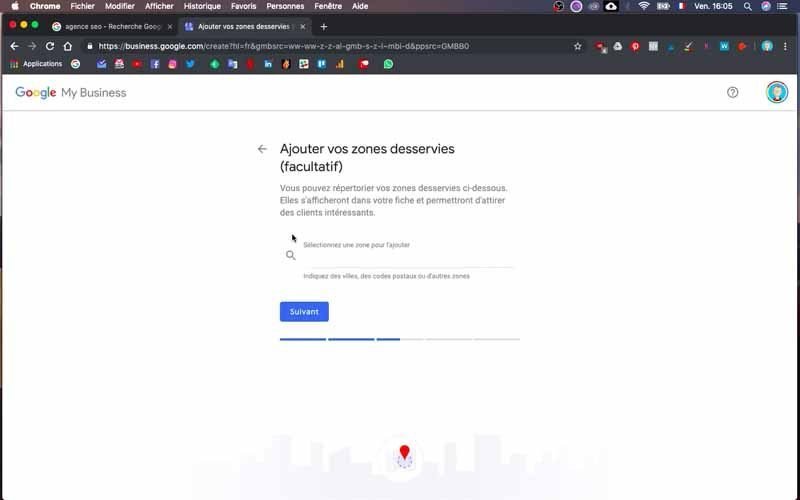
At this level, note that you have the choice to do this or not, since it is optional. For my part, I don’t add anything since I do an online business that can be accessed anywhere.
8) Choose the category of your business
On this page, you have “Select the category that best describes your business”.
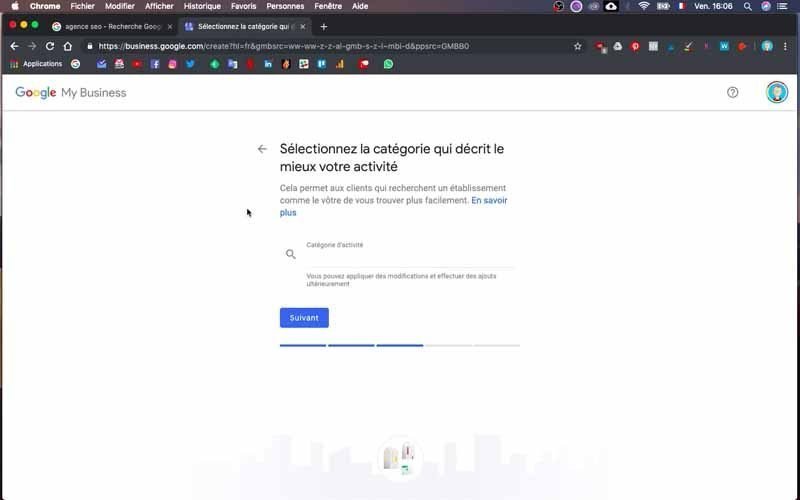
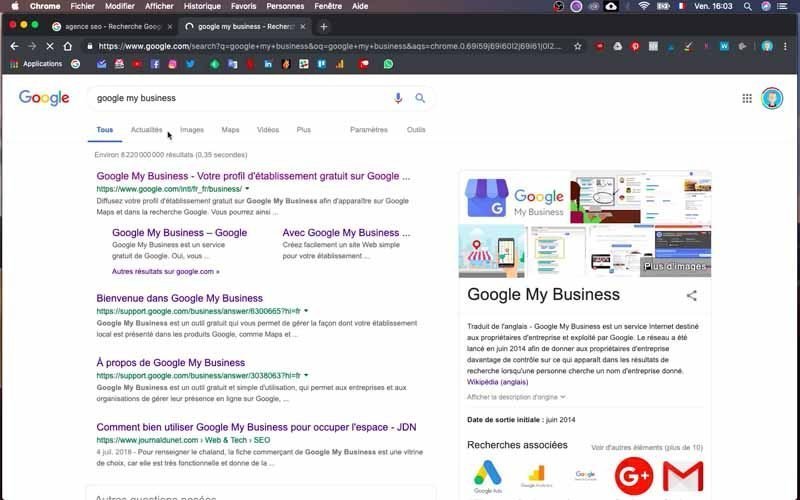
If you don’t know exactly what to list, you can simply Google the keyword of your theme.
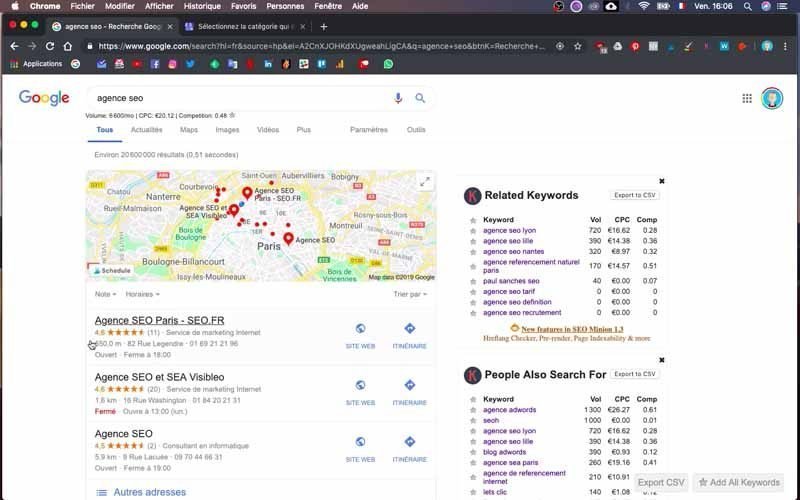
You will then see in the first search results the “Categories” that are likely to be the most relevant. They are located just below the brand names and to the right of the star ratings. Once you have entered your own category, click on the blue “Next” button to continue.
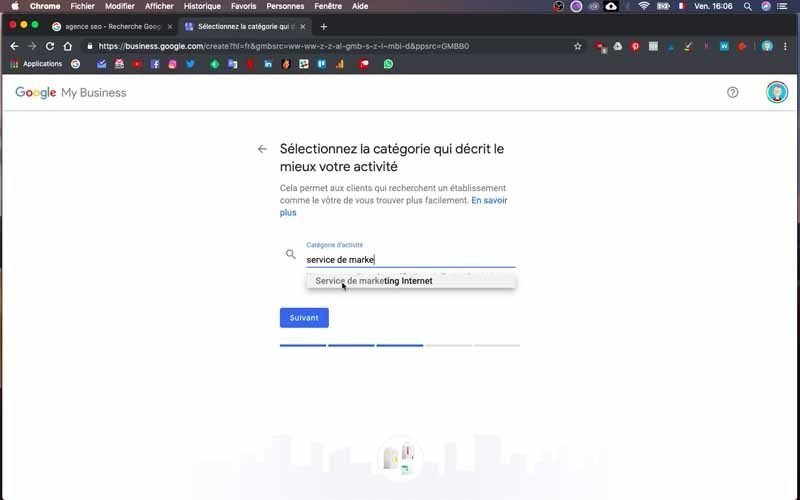
9) Enter the contact information that will be presented to customers
In this step, which is optional by the way, you will provide your phone number and your website to allow customers to contact you. You can ignore this part, but I recommend that you fill it in.
Note however that you can complete it later, as almost all other information. For my SEO Agency, I put my phone number, as well as the URL of my website, Twaino.com.
Then, click on the blue “next” button.
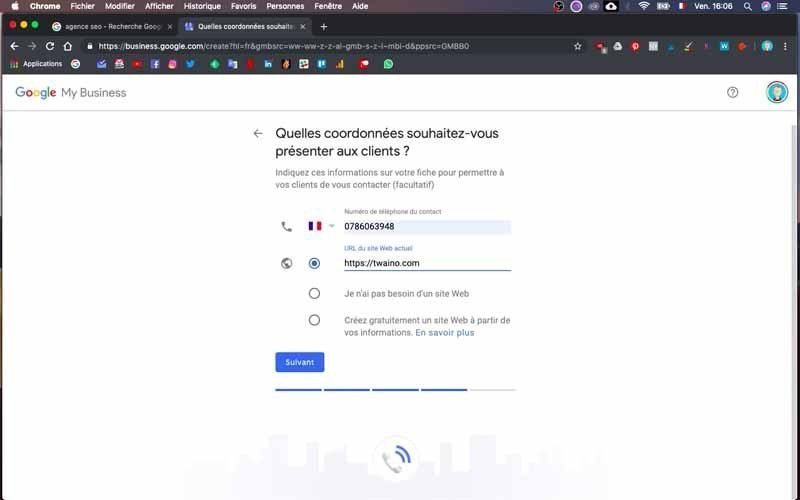
10) Validate your information
On the new page that appears, you have “Finish and validate this establishment”. Click on the blue “Finish” button to finish creating the Google My Business account for your company or agency.
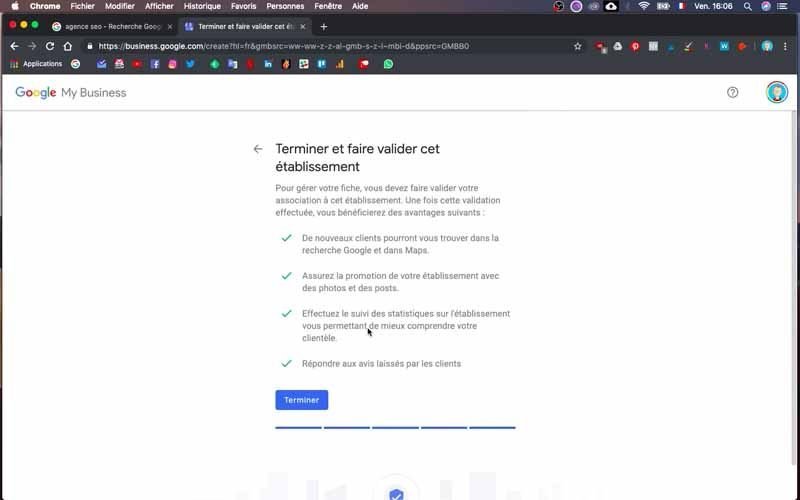
You will then access the dashboard of your account and we will complete the information that is indicated to have the most complete profile possible.
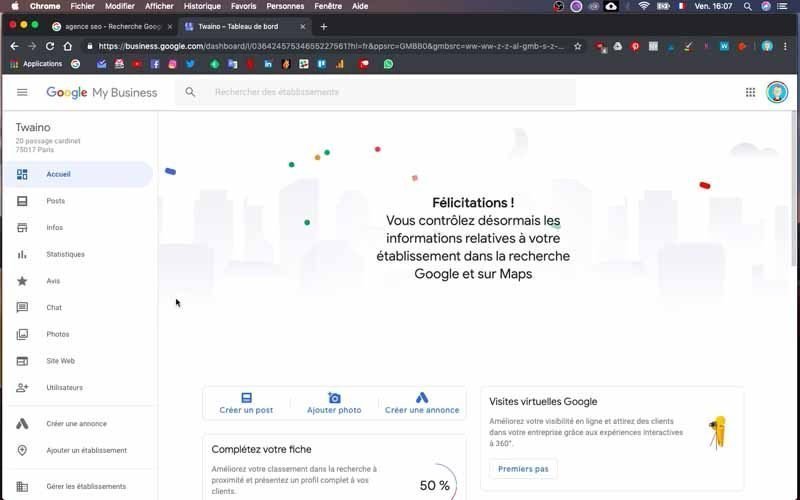
To help you, the tool indicates the percentage of data that has already been provided compared to the necessary information. You will then have like me 50%, if you have also entered the data that I have filled so far.
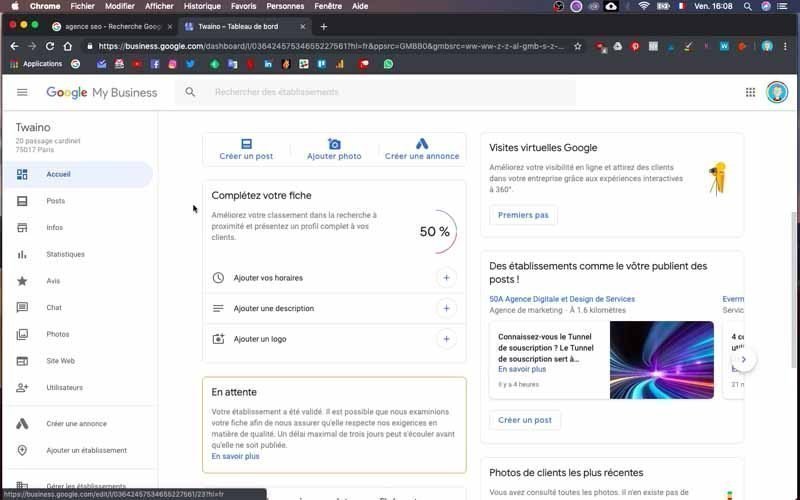
11) Add the schedules
Right at the bottom of the fill percentage, you have “Add your schedules” which you will click on to provide this information. Then you have a dialog box where you will enter your hours of operation from Monday to Sunday.
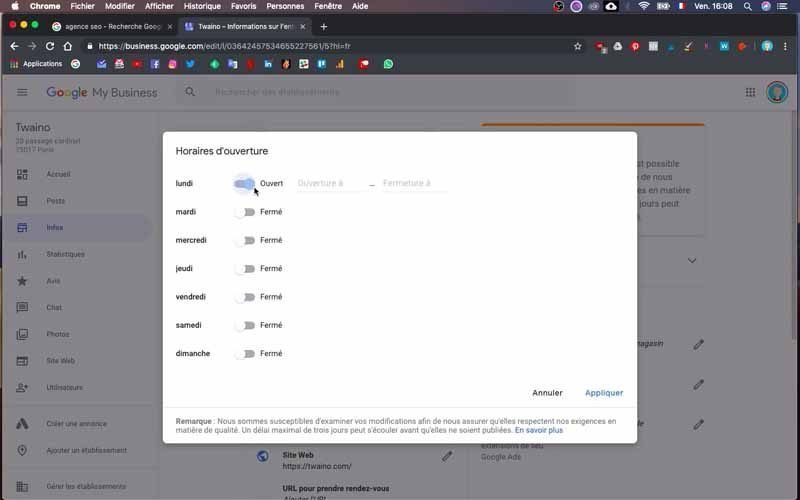
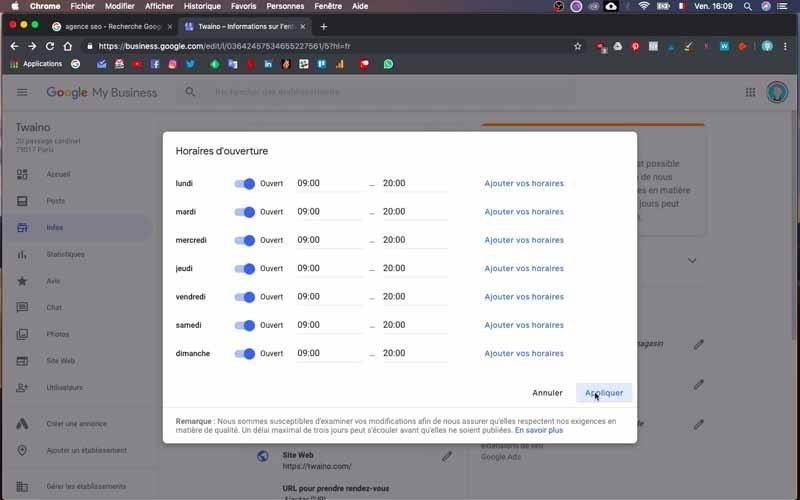
For my SEO Agency, I enter open every day from 9am to 8pm. I validate by clicking on the “Apply” button.
12) Indicate a URL to make an appointment
In the list of information to provide, take care to check the accuracy of each of them. The parts that are not filled in, try to complete them if possible.
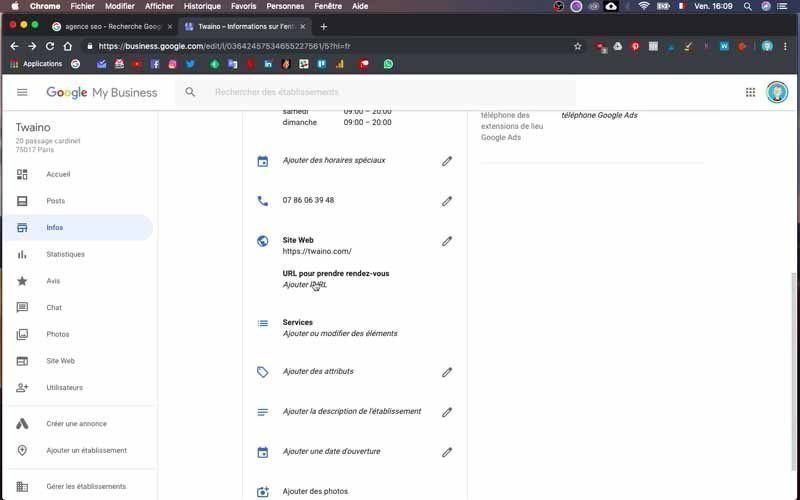
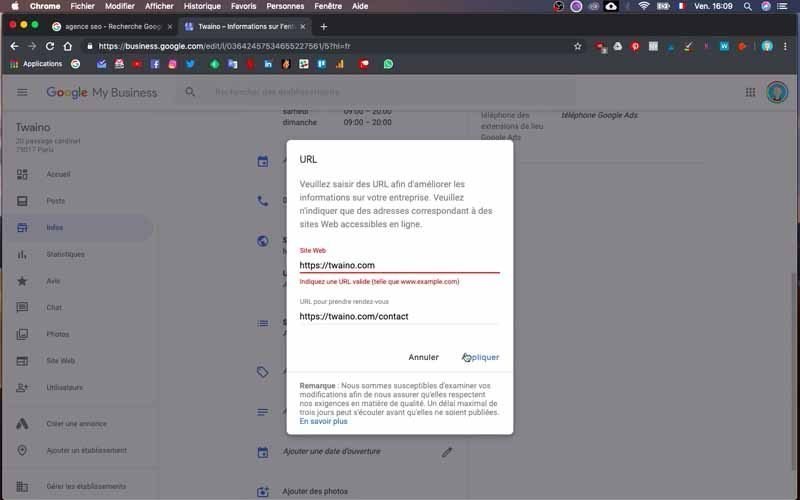
Just after the website, I have here “URL to make an appointment” which will allow people to contact you. For this, indicate the URL of the “Contact” page of your website as I do with the address : https://www.twaino.com/contact/ .
13) Add your services
At this level, you have to indicate the “services” that your company offers. For this, Google My Business offers you the possibility to add several sections that can contain several “items”.
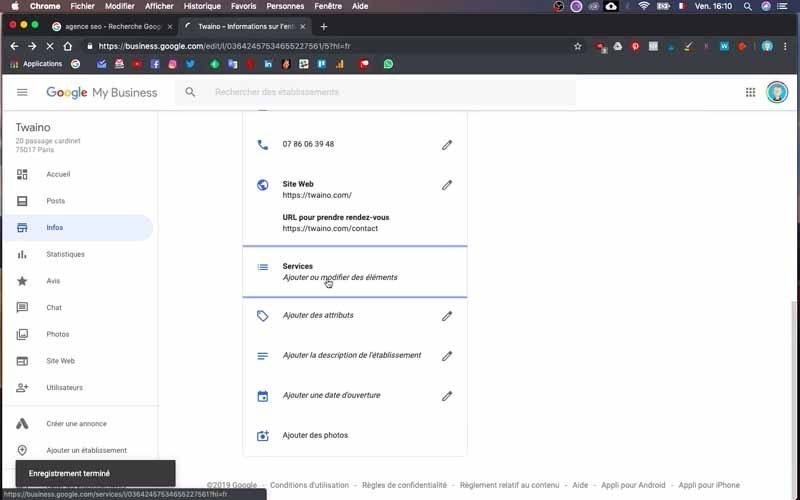
To make it easier, I go to the service page of my website twaino.com.
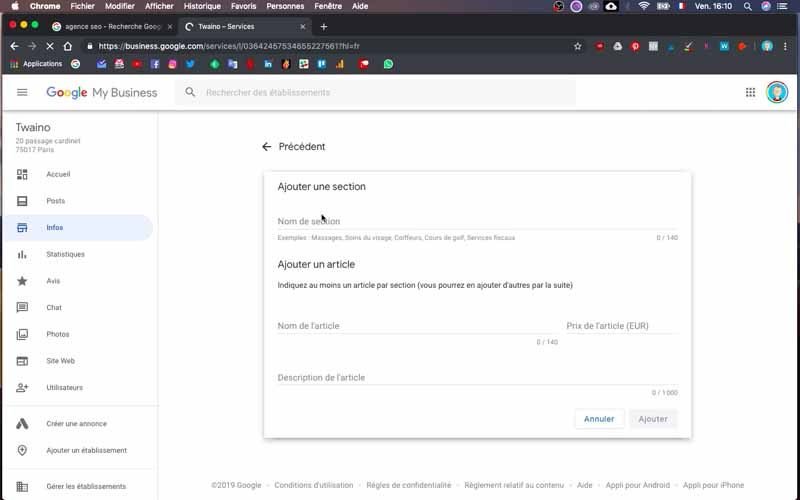
Do the same by taking the information you want to appear in Google searches.
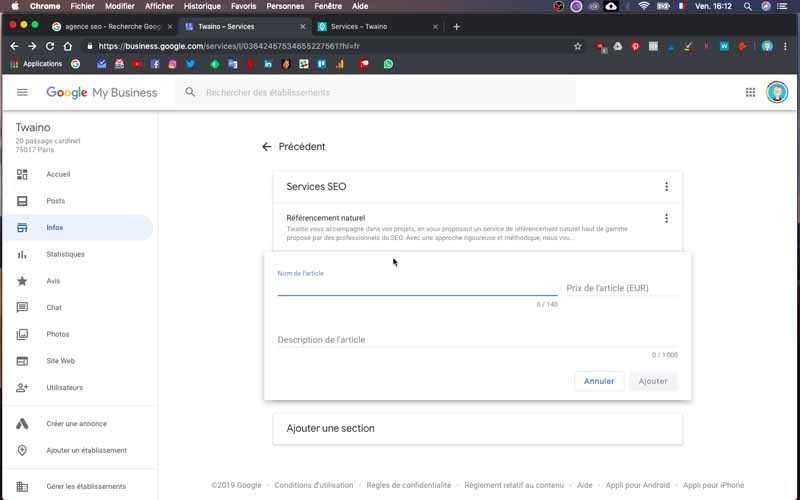
So I indicate the name of a first section “SEO Services” in which I add the “SEO” with its description, “SEO Audit” also with its description, the same for “Web Writing” and “Illustrations & Graphics”.
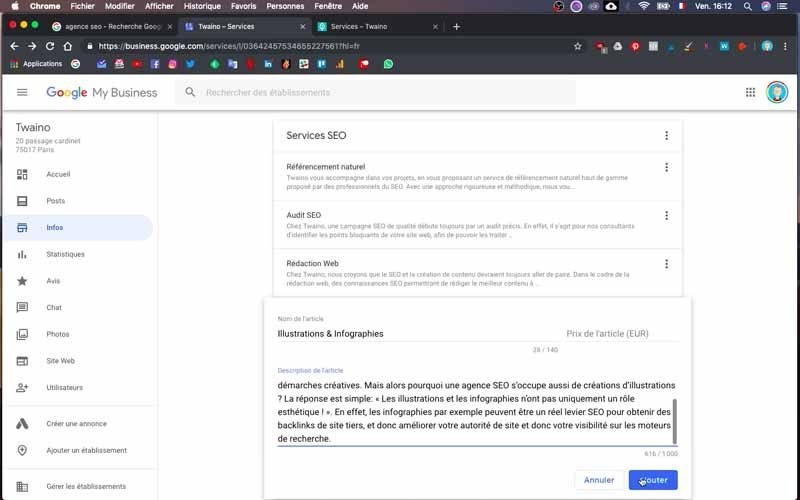
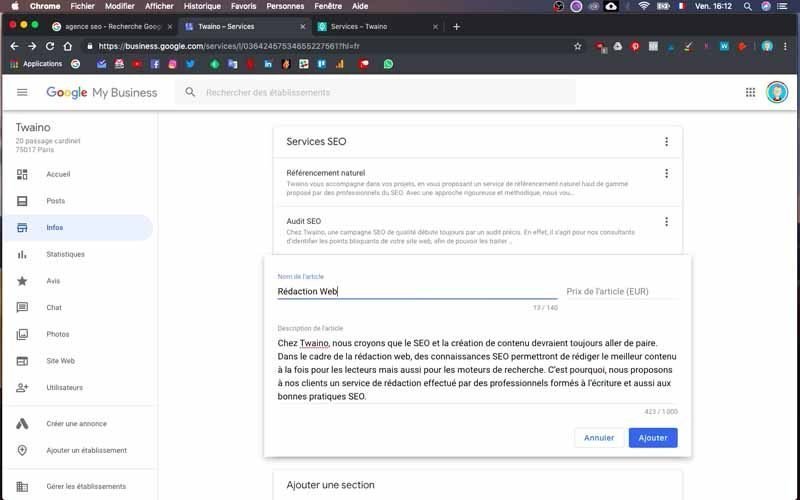
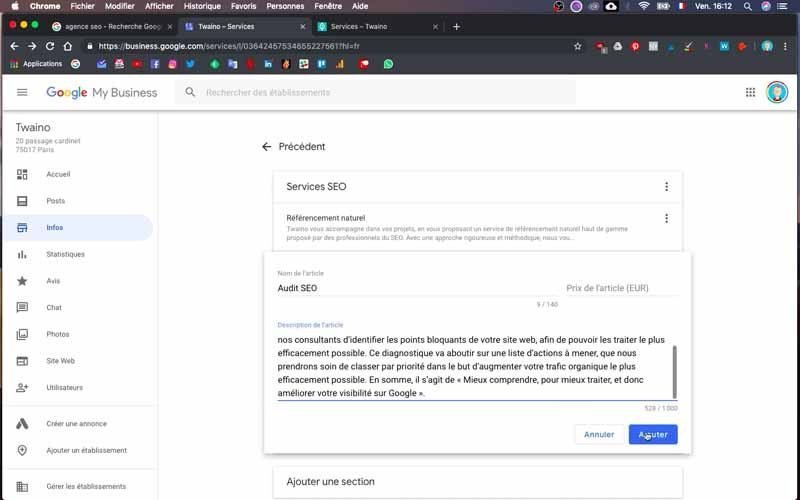
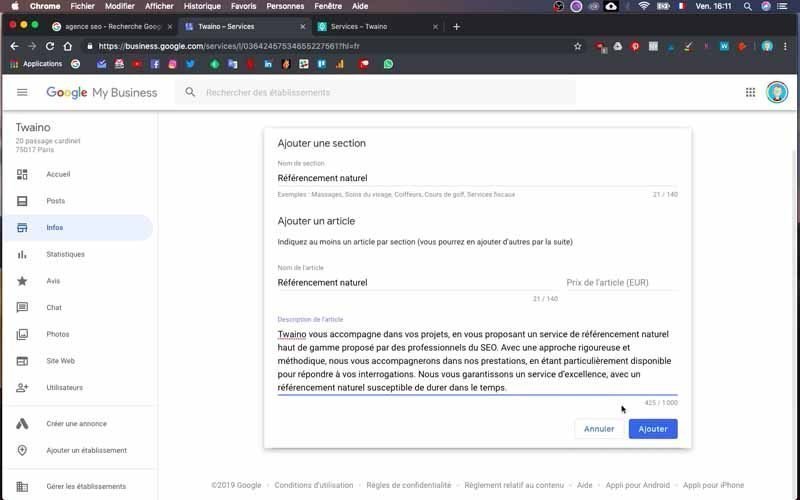
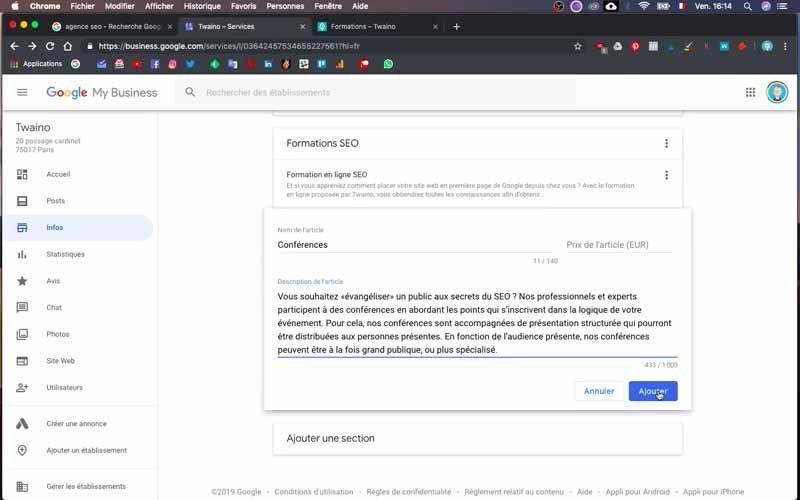
Then I add the “SEO Training” section with parts like “SEO Online Training” and “Conferences”.
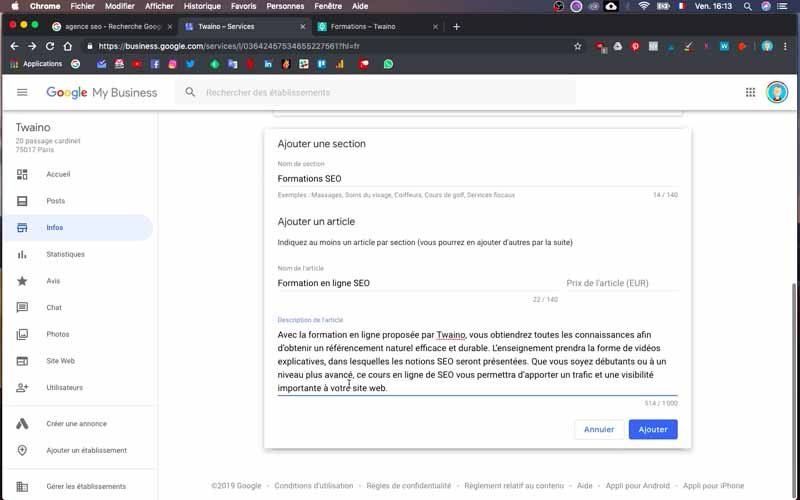
All this with a description to back it up. Obviously, you’ll fill out this section based on your service typology
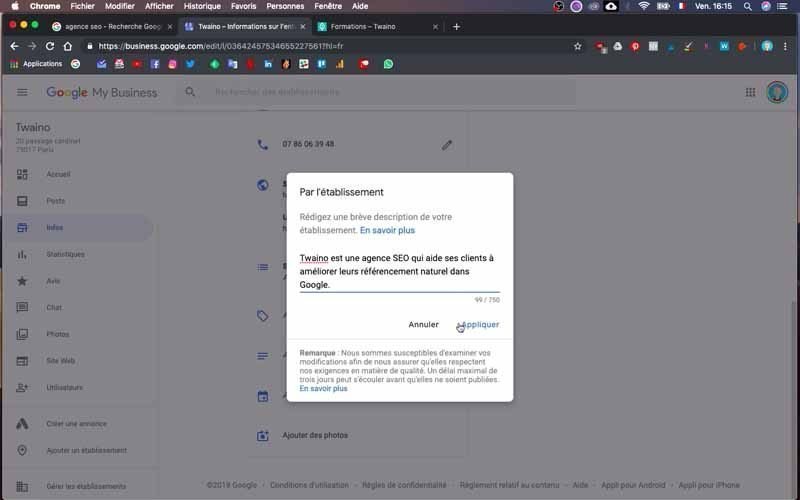
14) Add a description of your business
Then go back to the information page to continue with this section.
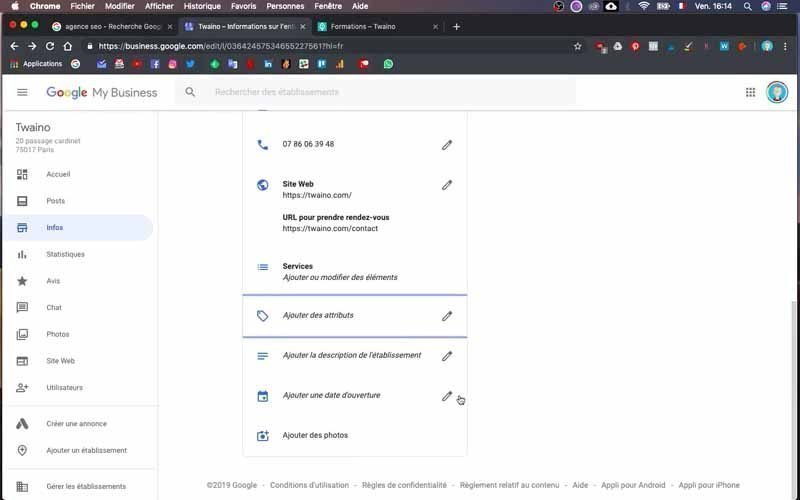
Write a clear and precise description of your establishment with a limit of 750 characters.
15) Add photos
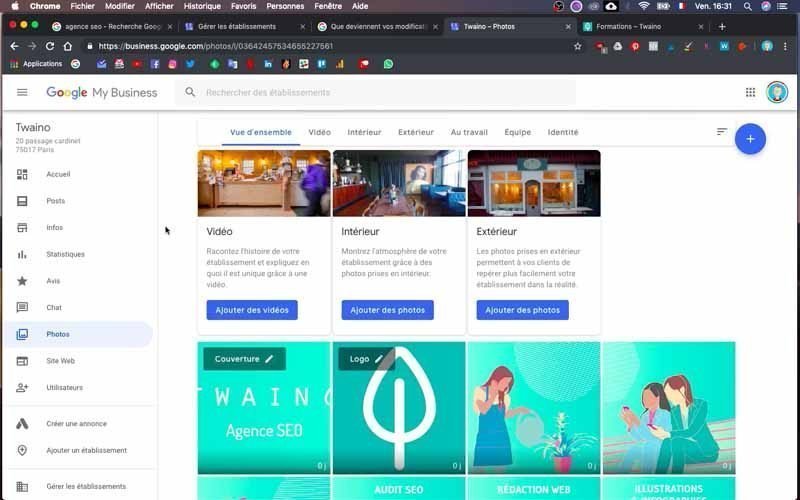
As I already mentioned, it is very important to add photos of your identity, your products, your services, etc… So do not hesitate to add photos regularly since these images will also appear on Google Maps.
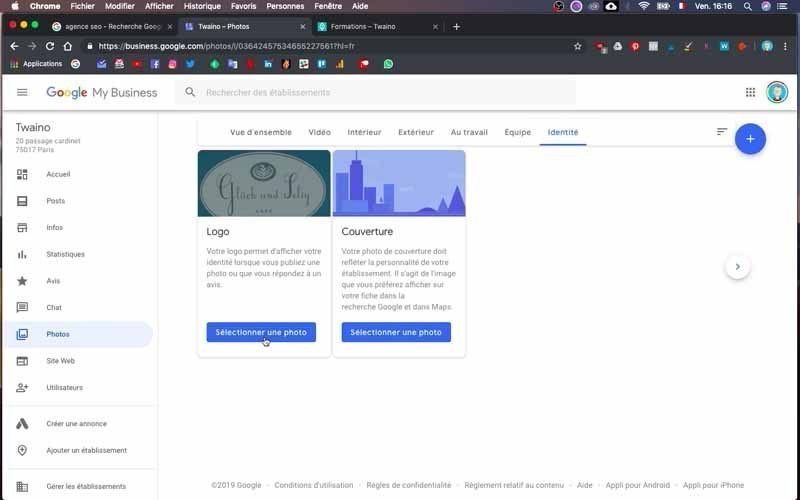
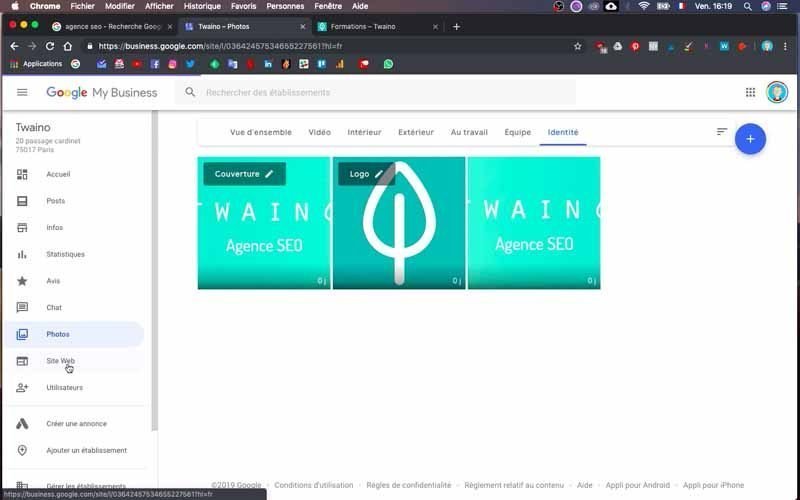
At my level, I add the images concerning the identity of my company in the “Identity” section.
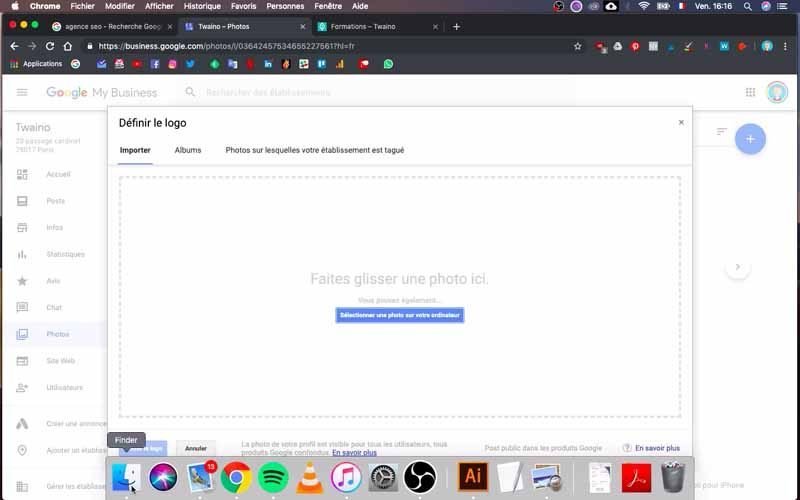
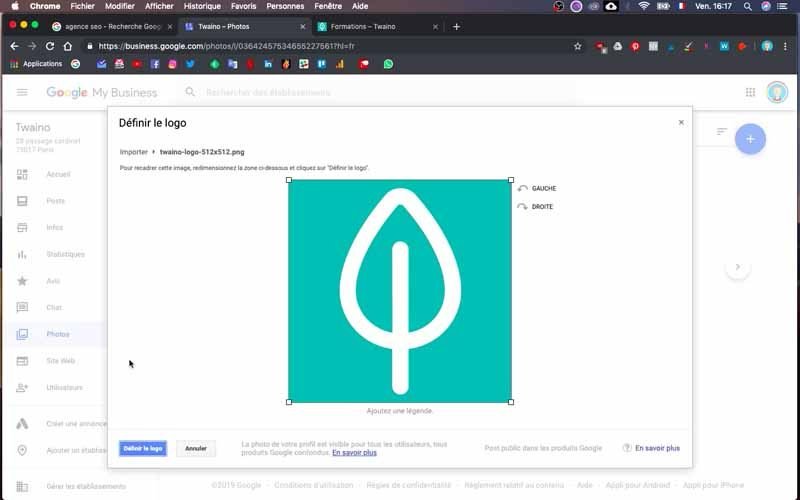
These are my logo and a cover photo that reflects the personality of my establishment.
You can add videos if you wish, which is highly recommended.
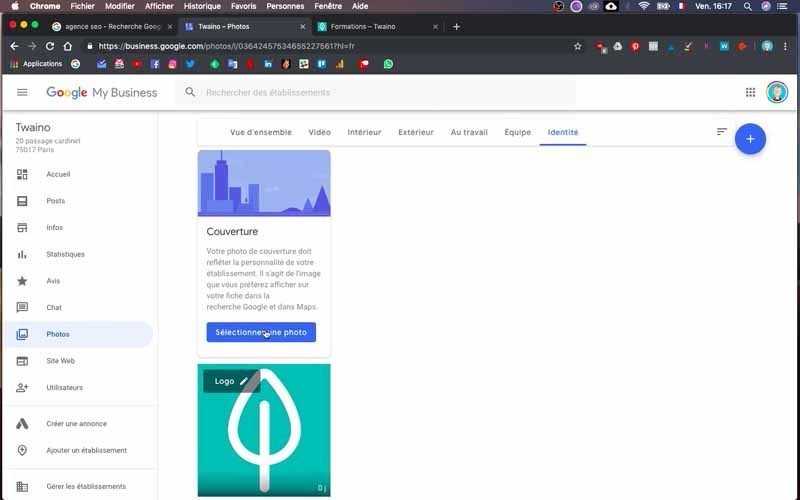
You will also notice that there are several sections including “At work”, “Team”, “Interior” that allow you to classify your images.
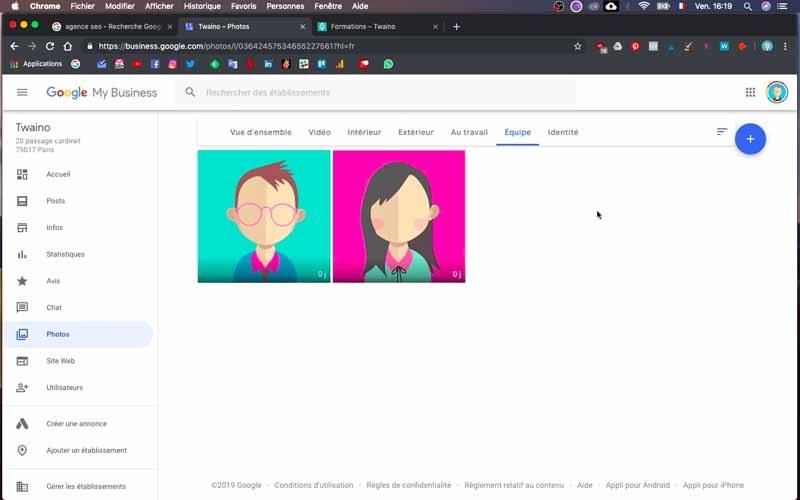
I suggest you add as many images as possible, but make sure they are relevant.
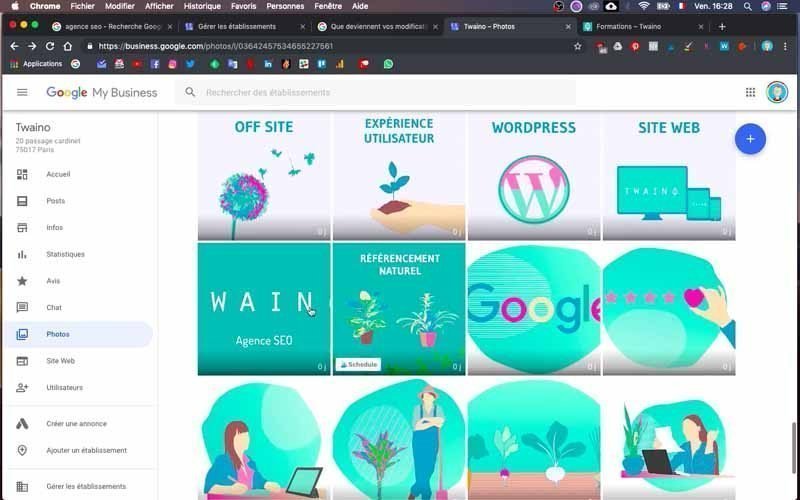
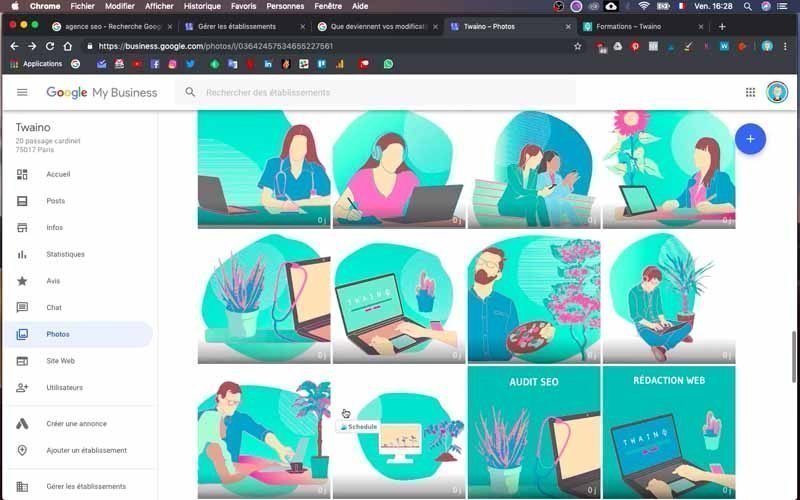
Indeed, you must make users want to learn more about you and therefore click on your links or call you.
16) Add a website
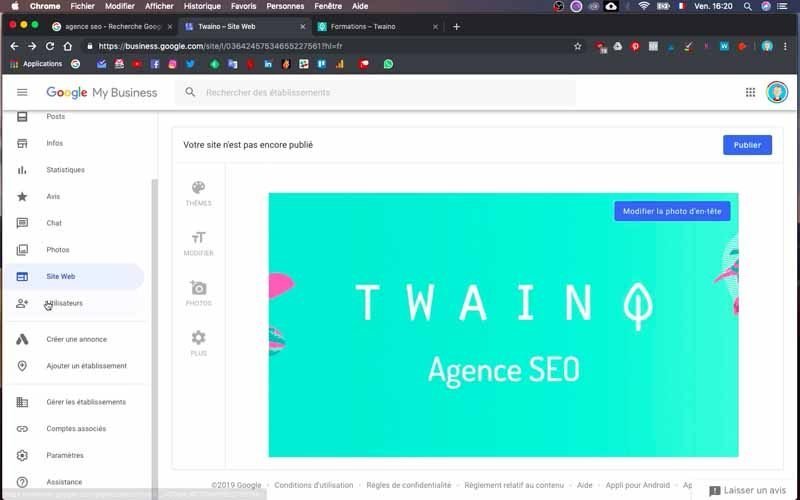
In the section on the left, you will find “Website” which allows you to create a website if you do not have one. For this, Google My Business gives you plenty of options including themes, fonts, photos and many other options to have a proper website.
Since I already have mine created and working properly, I don’t need to do this configuration anymore.
17) Receiving a code
You just created your Google My Business page, but Google will send you a code in a P.O. Box letter to verify that your address is correct. Once you have this code, enter it into your Google My Business account to proceed to full validation.
You will also find the message “Pending” on the right sidebar of your dashboard. Note that without the complete validation by Google of your information, you will not be able to write posts in the “Posts” section located just below “Home” on the left sidebar. Indeed, these posts are very interesting because they will be visible by users on your Google Maps page.
18) Verification
Once you have entered all the necessary information, you must remember to do a final verification of all your information. This allows you to correct any errors.
If you go to the “Statistics” section, located in the left sidebar, you will certainly not have any data for the moment since no information has been collected yet.
Also note that to manage the notices, you can go to the section in question. In the “Chat” section, on the other hand, you can answer your customers’ questions in a few seconds.
Conclusion
Without visibility, any business is bound to die. For this, a large number of methods and tools have been developed for its continuous improvement. Among these, we find Google My Business which is a very powerful tool especially for geolocalized searches. The most interesting is the fact that it is displayed at the top of the search results and therefore offers a considerable amount of traffic for companies that manage to occupy the first place. Therefore, you must create and optimize your Google My Business page by first indicating all the necessary information and then regularly feed your page with relevant content

